Cultivate Creativity Series Part 1 - Pyrography
Welcome to our series on cultivating creativity! As we embark on a new year, I believe that now is the perfect time to explore our inner creativity and unlock the potential for new innovations and ideas.
Through this series, I aim to provide you with practical tips and insight to help you tap into your creative potential and inspire you to pursue your passions with renewed energy and enthusiasm. Whether you're a seasoned artist or a beginner looking to explore new avenues of expression, our series is designed to help you cultivate a more creative outlook on life. So, join us on this journey and discover the joy of unleashing your inner artist!
One of our words for this year is CULTIVATE. To cultivate something you have to explore, experiment, nurture, develop, and practice! Sooo…let’s get started!
Throwback from the 70’s!
This week we are exploring the art of woodburning. Why woodburning? Because I rediscovered some tools while organizing my studio and thought…it would be fun to play with those again! The art of wood burning is also called pyrography or pyrogravure.
Pyrography

“Pyrography is the freehanded art of decorating wood, leather or other materials with burn marks (resulting in surface burned designs) from the controlled application of a heated object or tool such as a poker.” - wiktionary.org
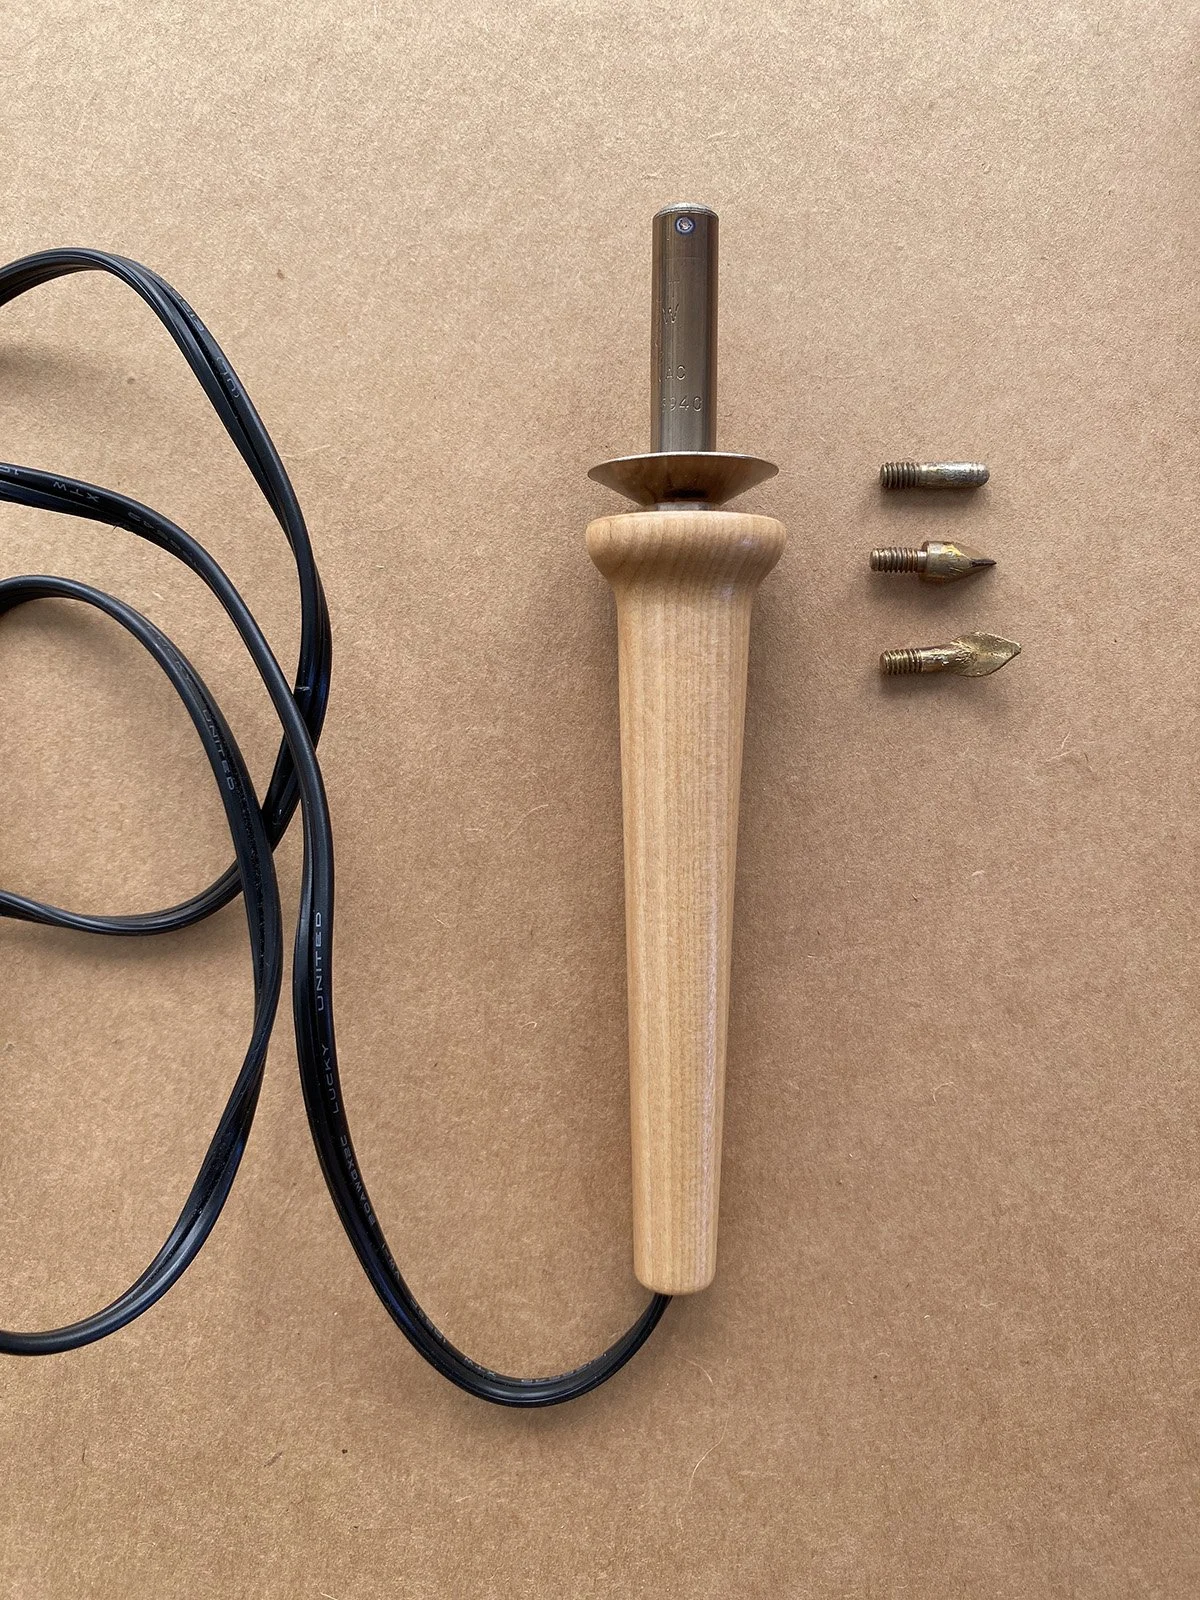
Heat Source
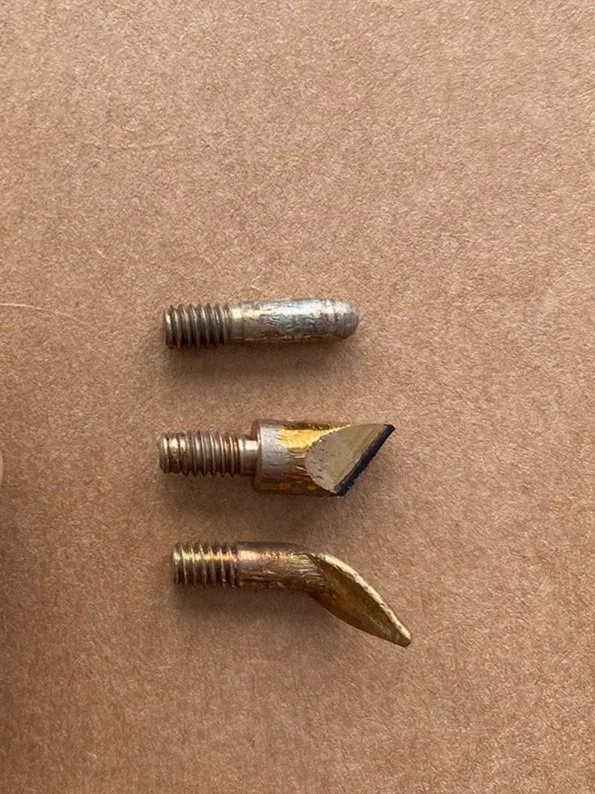
Nibs
Woodburning tools are readily available online and in craft and art stores. They range from $15 to $100 plus. A starter kit from Walnut Hollow comes with four nibs and is a good low investment option if you want try pyrography.
If you want to invest more, then consider a temperature controlled machine with wire nibs. Experts say that wire nibs are easier to control.
Surfaces
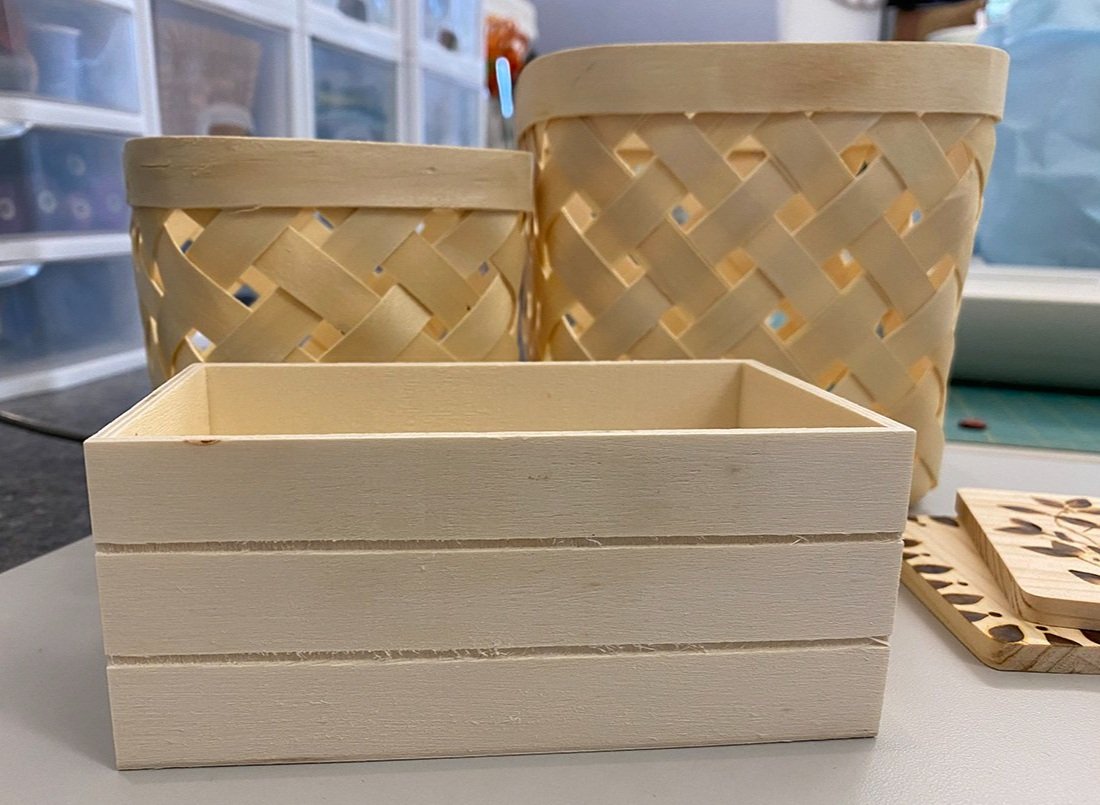
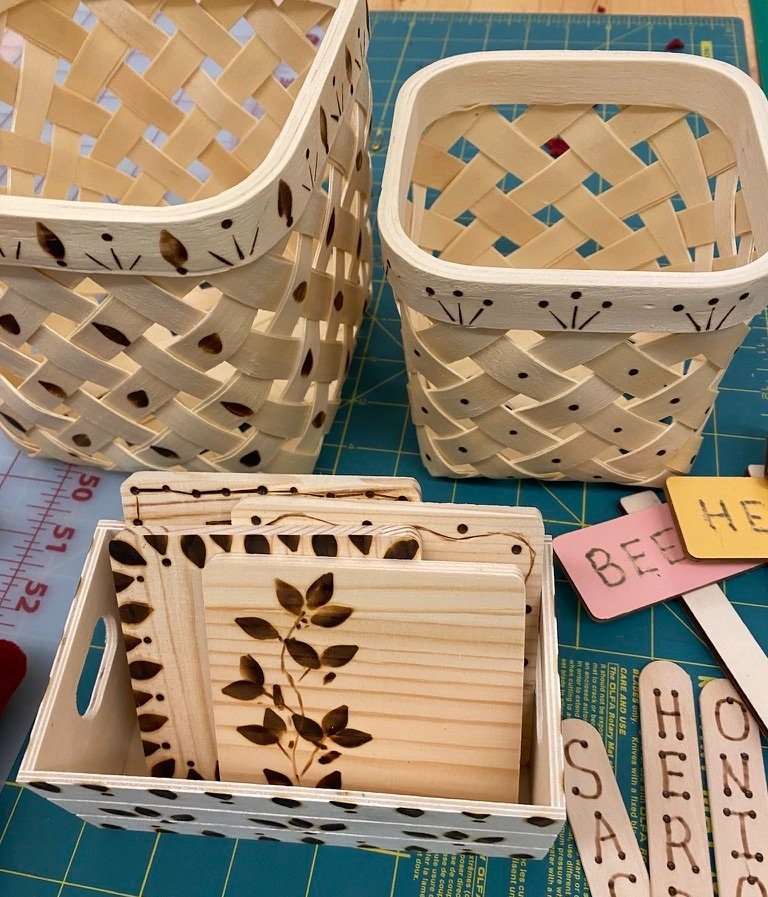
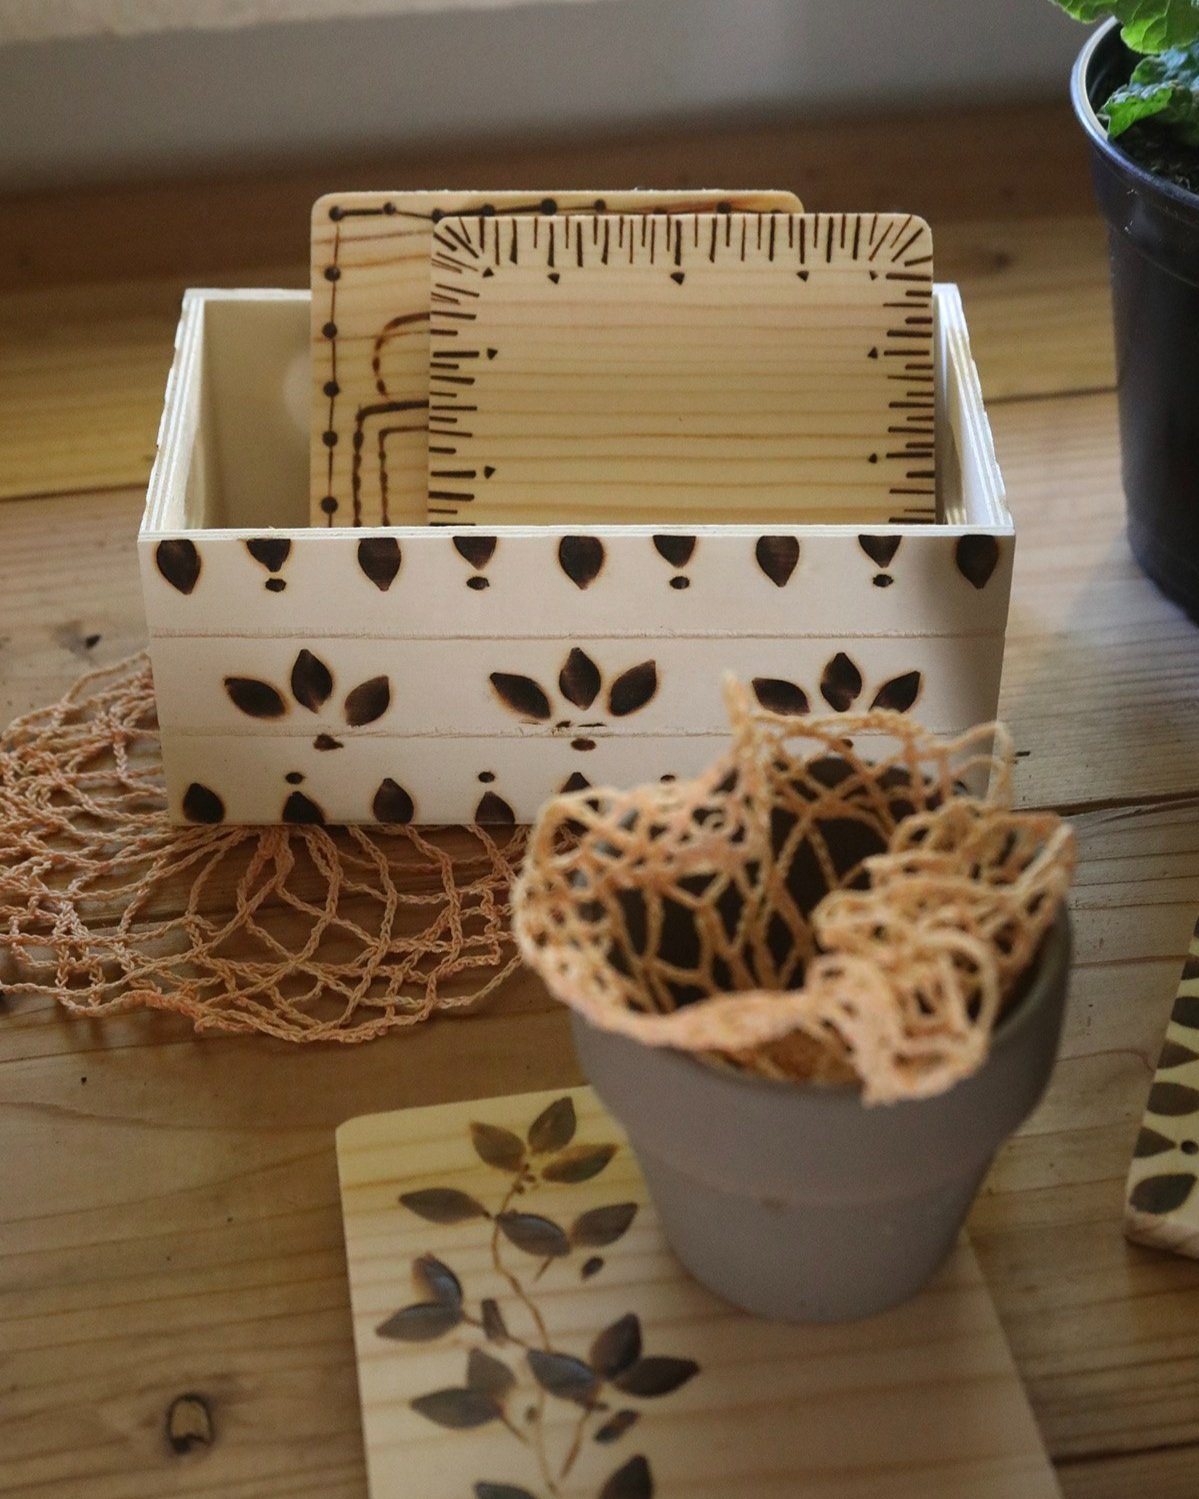
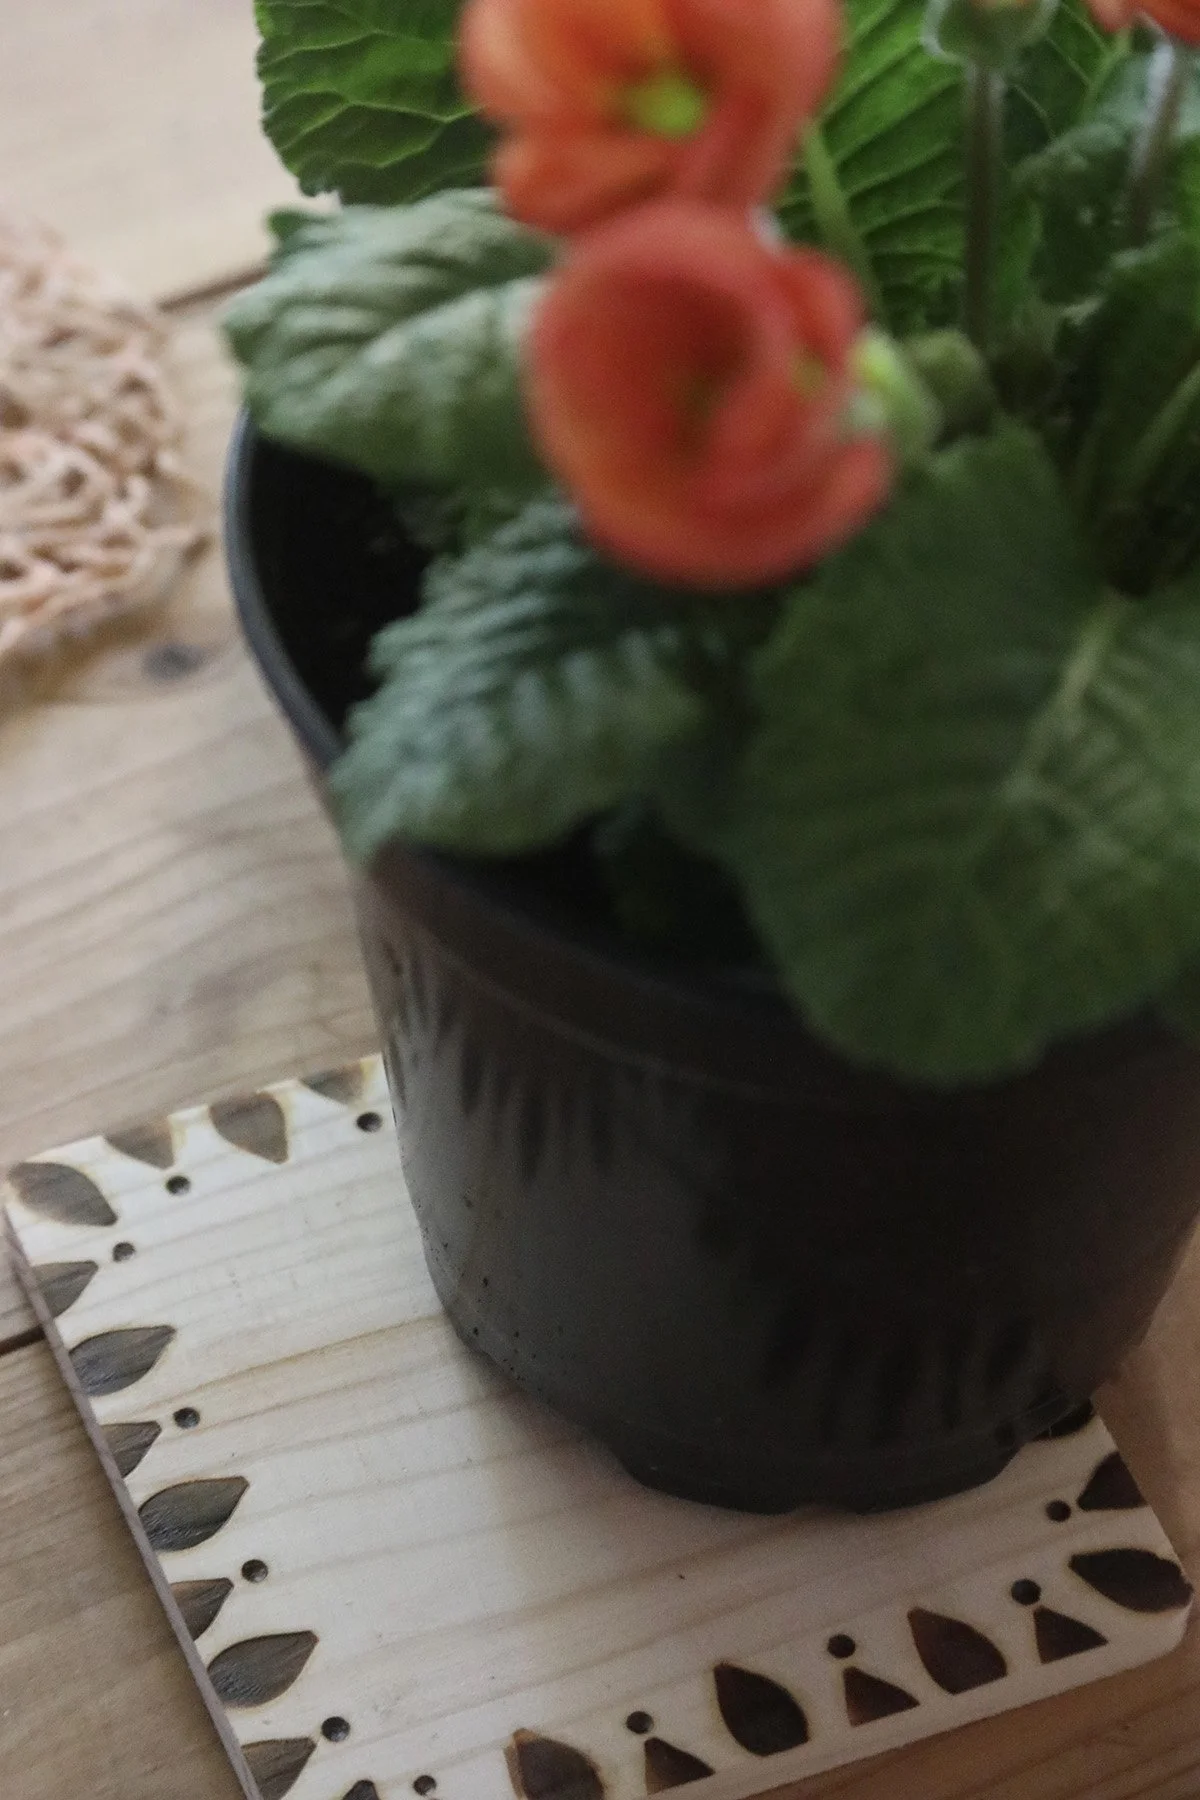
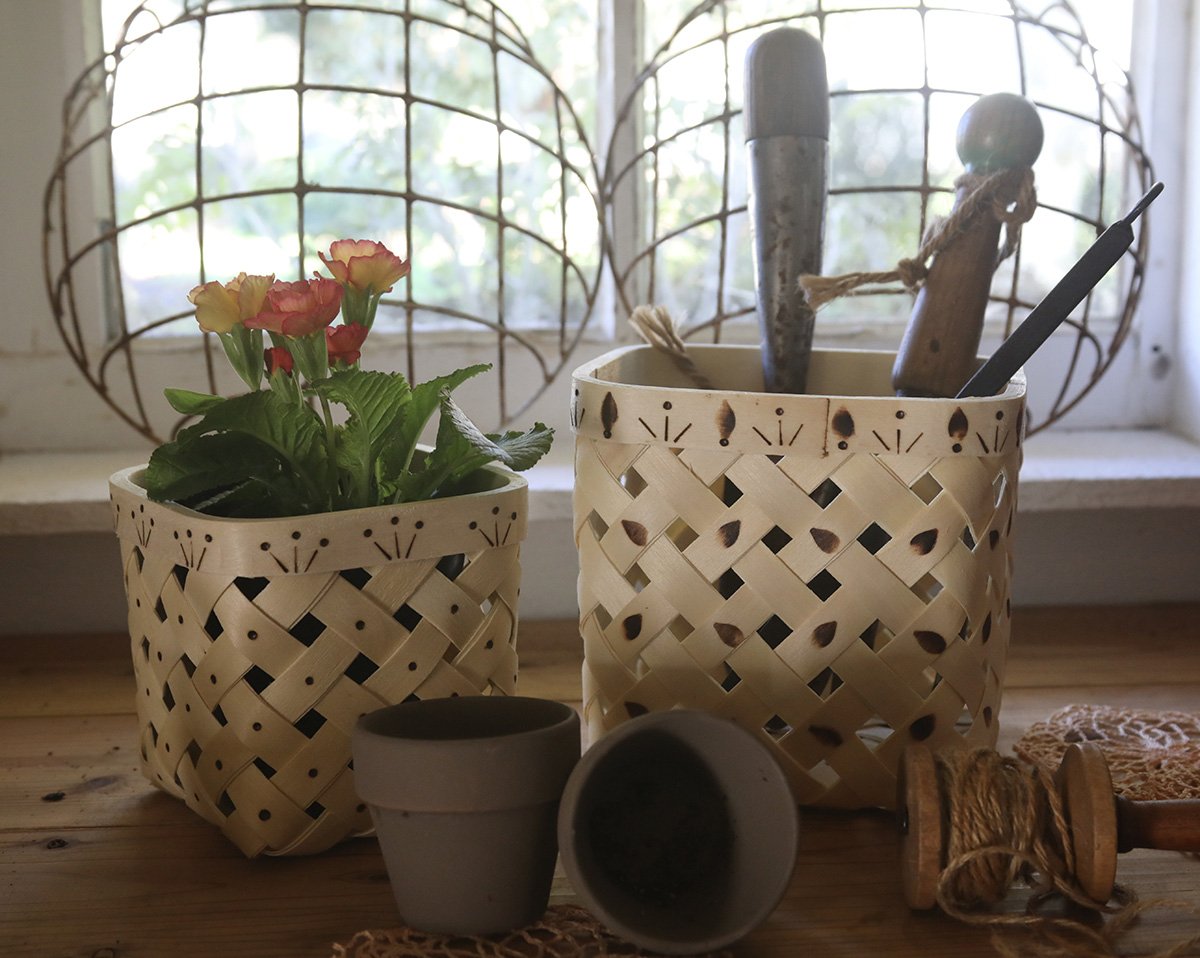
Next you will need something to burn your pattern on. I found a wood box, a set of wood coasters, two baskets from IKEA, and some wood craft sticks.
Inspiration Sources
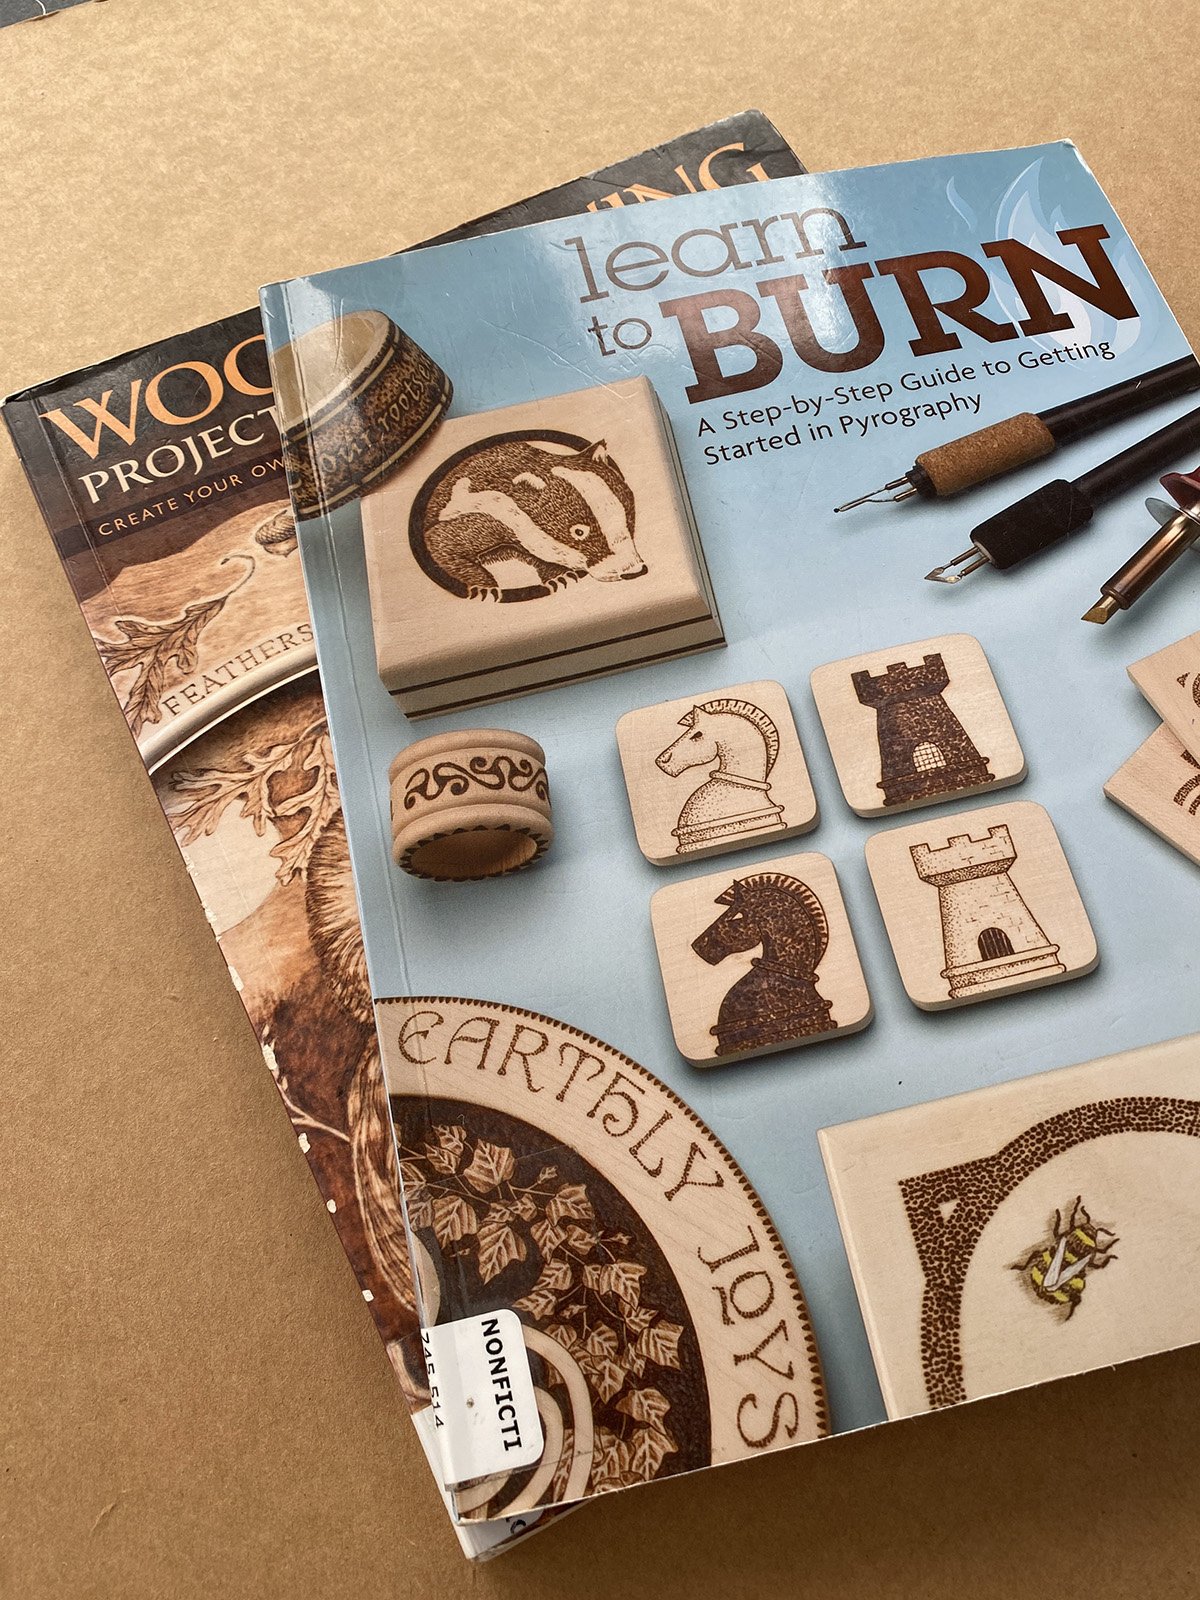
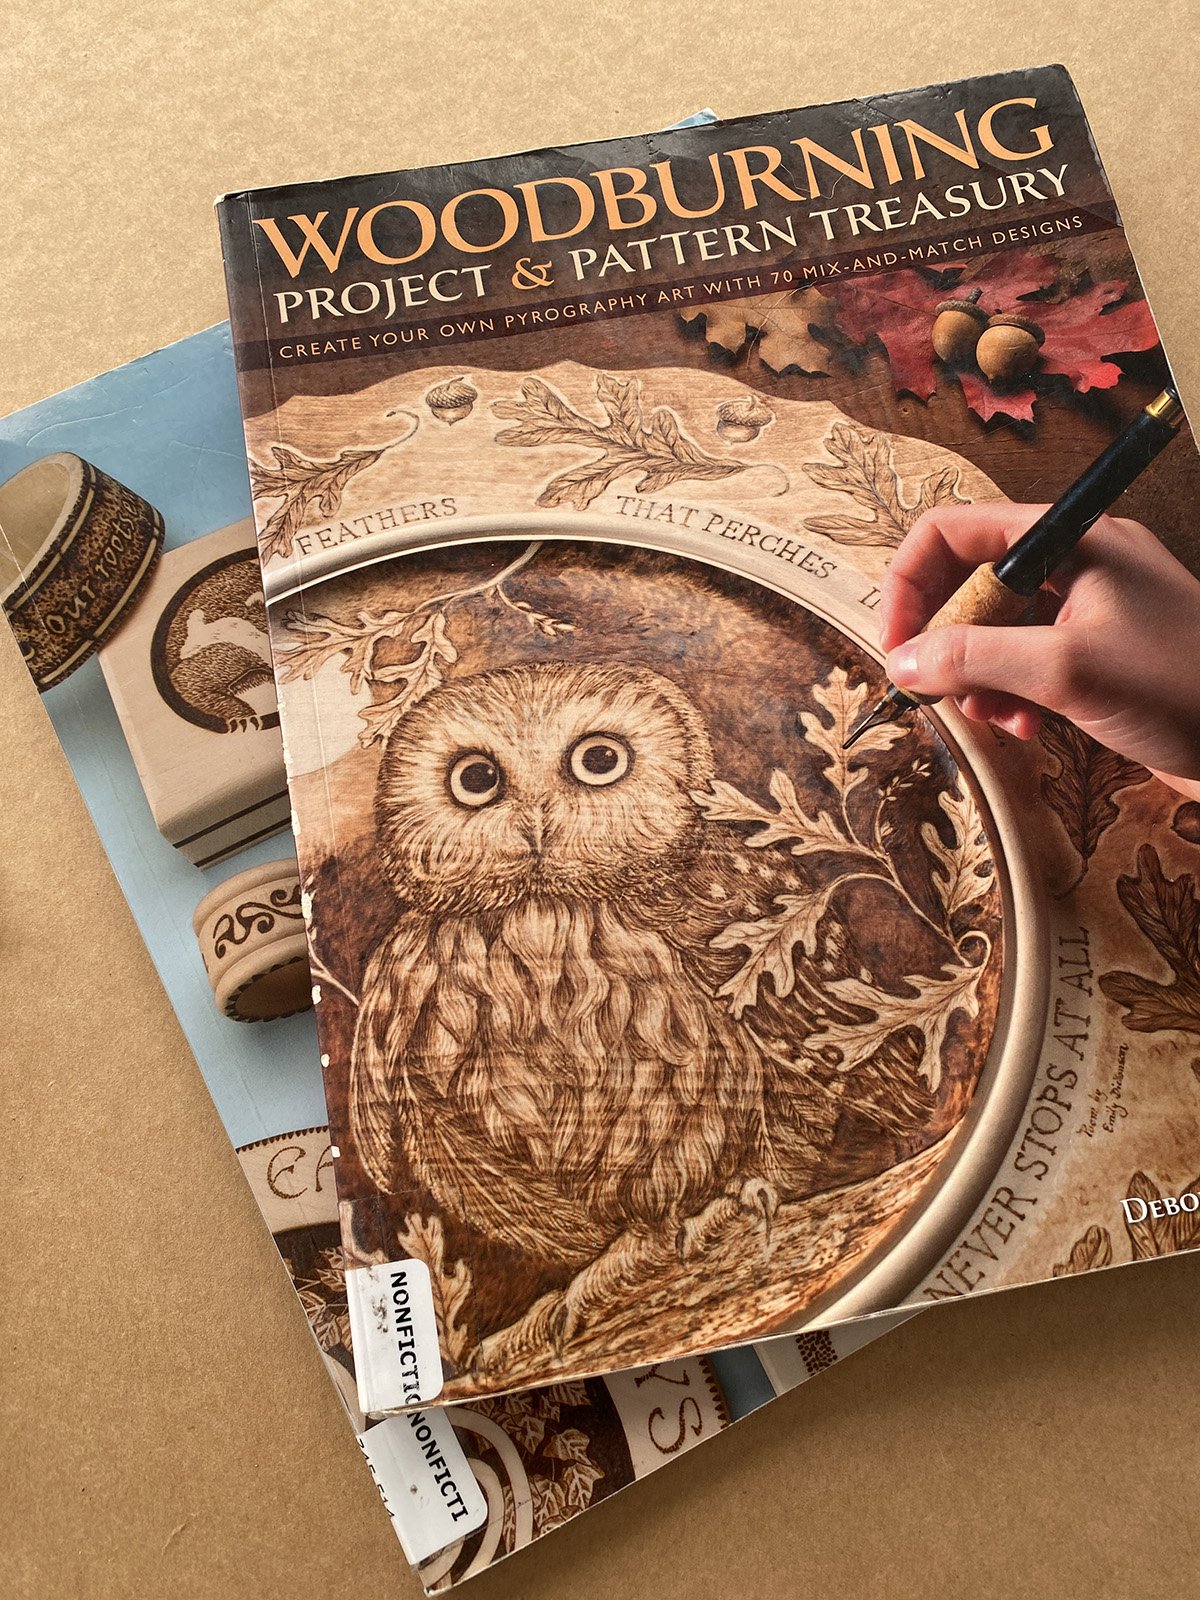
You may also want a bit of inspiration! I found these two books at the library and they both are full of helpful hints and patterns that you can transfer onto your surface.
I also discovered this fun Woodburning 101 video on Youtube that you may also enjoy.
Play with the tools
“Creativity itself doesn’t care at all about results – the only thing it craves is the process.” – Elizabeth Gilbert


Choose a nib, heat your pyrography pen, and experiment! Don’t worry about the result…just have fun. Discover what you can make with each nib. Draw, shade, stamp, adjust your speed, and see what happens.

When you are ready…try creating a pattern.


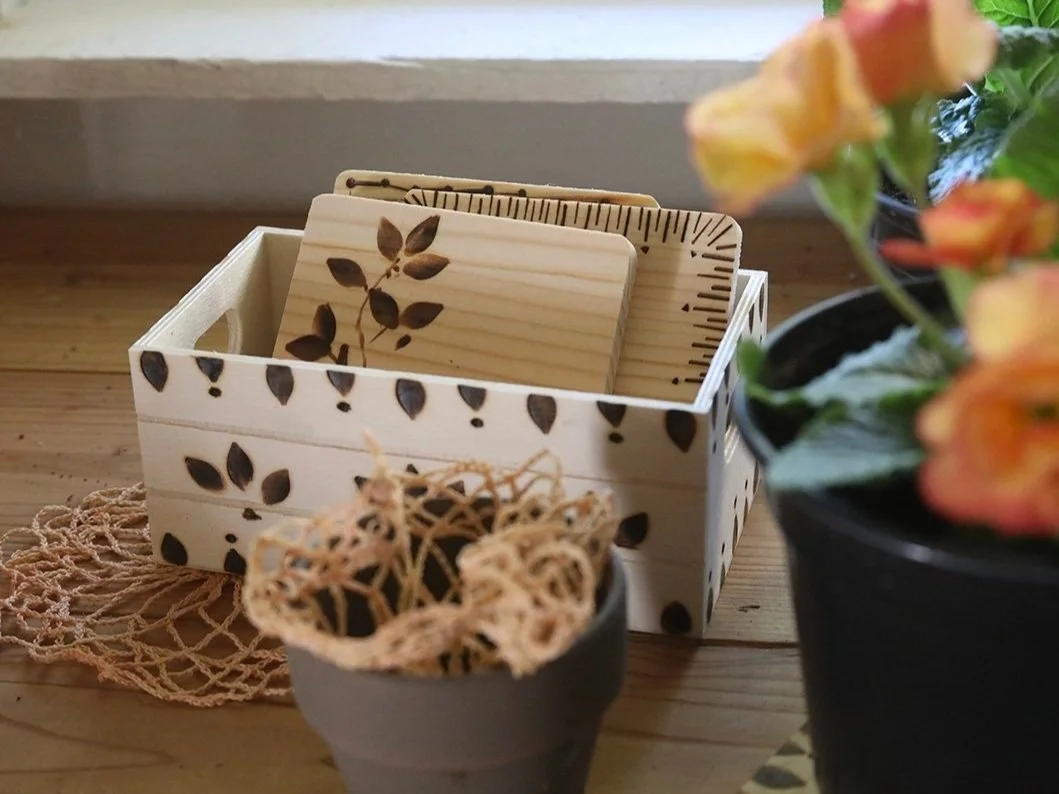
Coasters make good practice surfaces because they have two sides!
When drawing lines like these vines it is recommended that you pull the pen towards you as opposed to pushing the pen away. I found this recommendation very helpful.
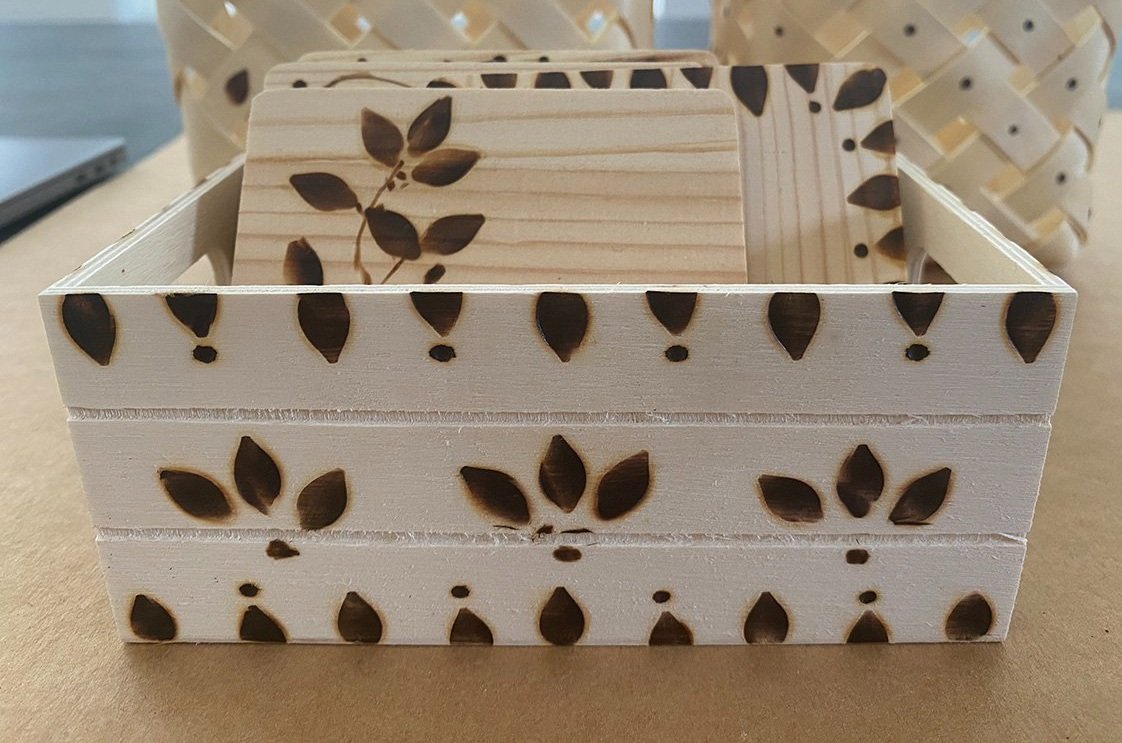
Decorate a small box to hold the coasters. The longer you hold the nib on the wood, the darker the image. These patterns were created using a stamping method with the shading nib.


When you feel comfortable with the tools, try writing letters. I used inexpensive craft sticks to make plant stakes.
I find that even permanent pens fade in the garden so burning the names into the stakes should last much longer!


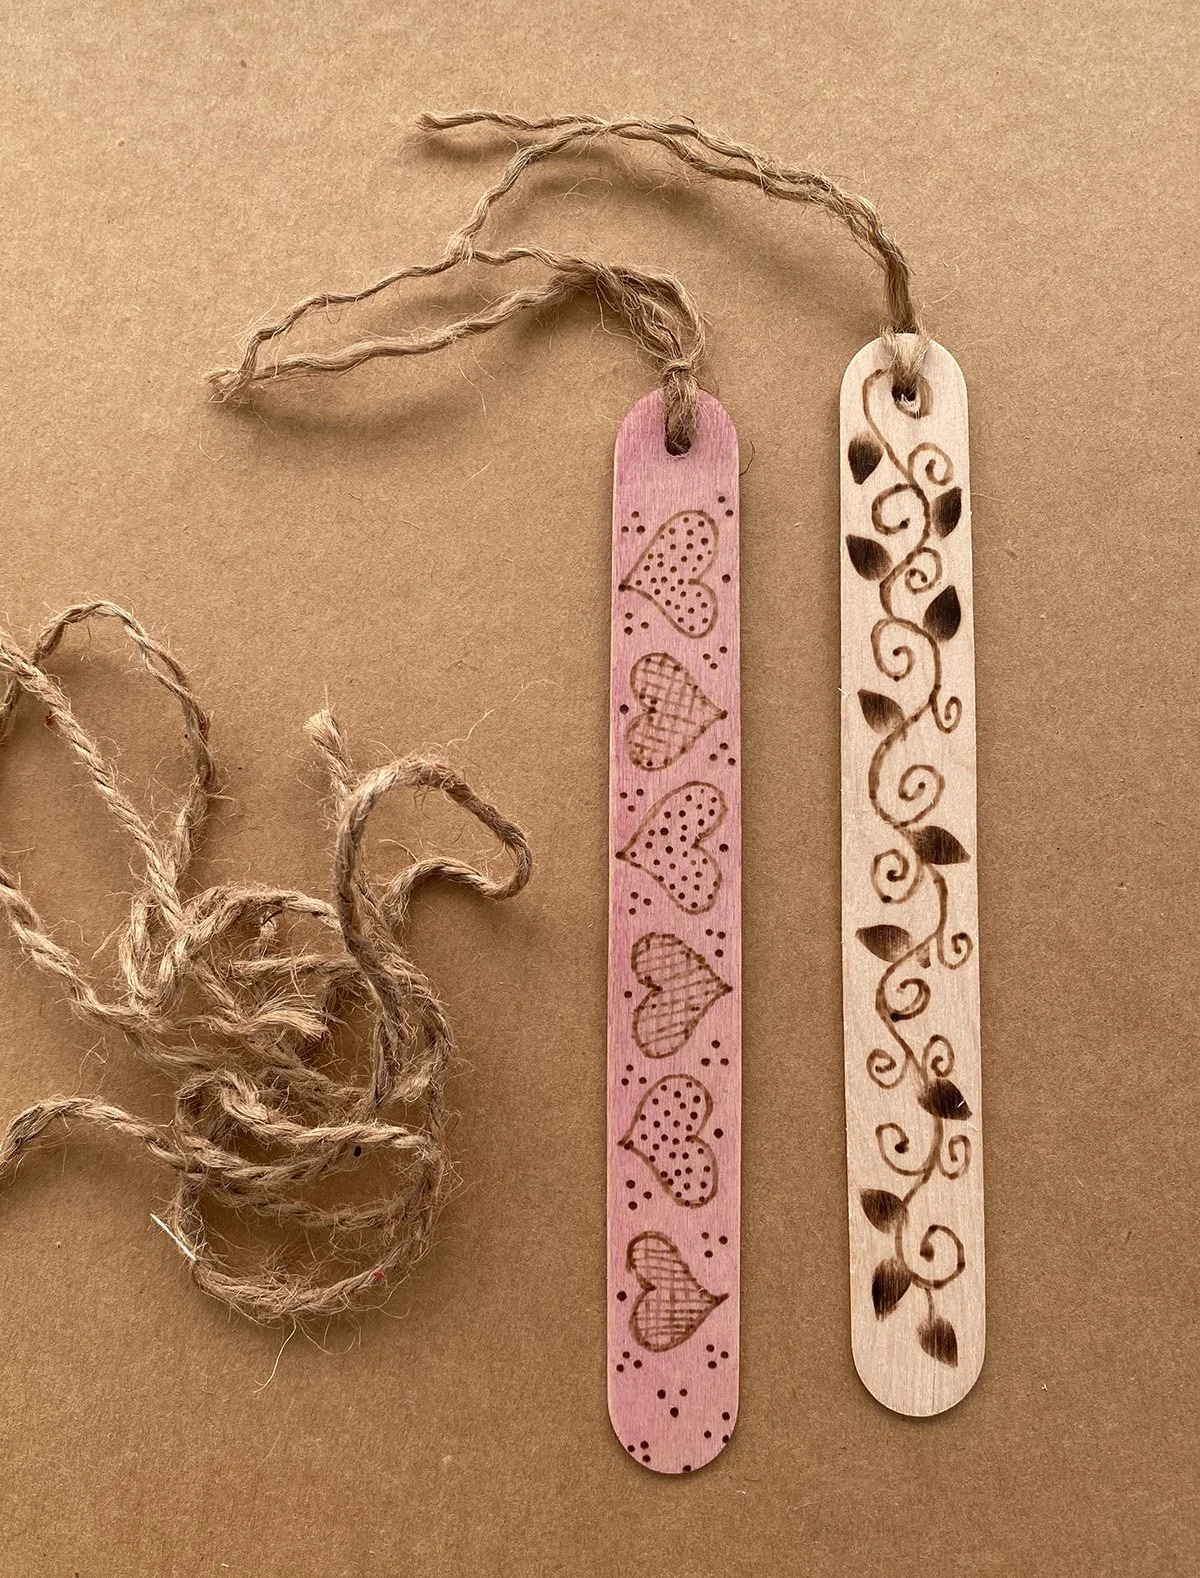
Experiment with more designs and use them for bookmarks! You can add color with watercolor inks or colored pencils.

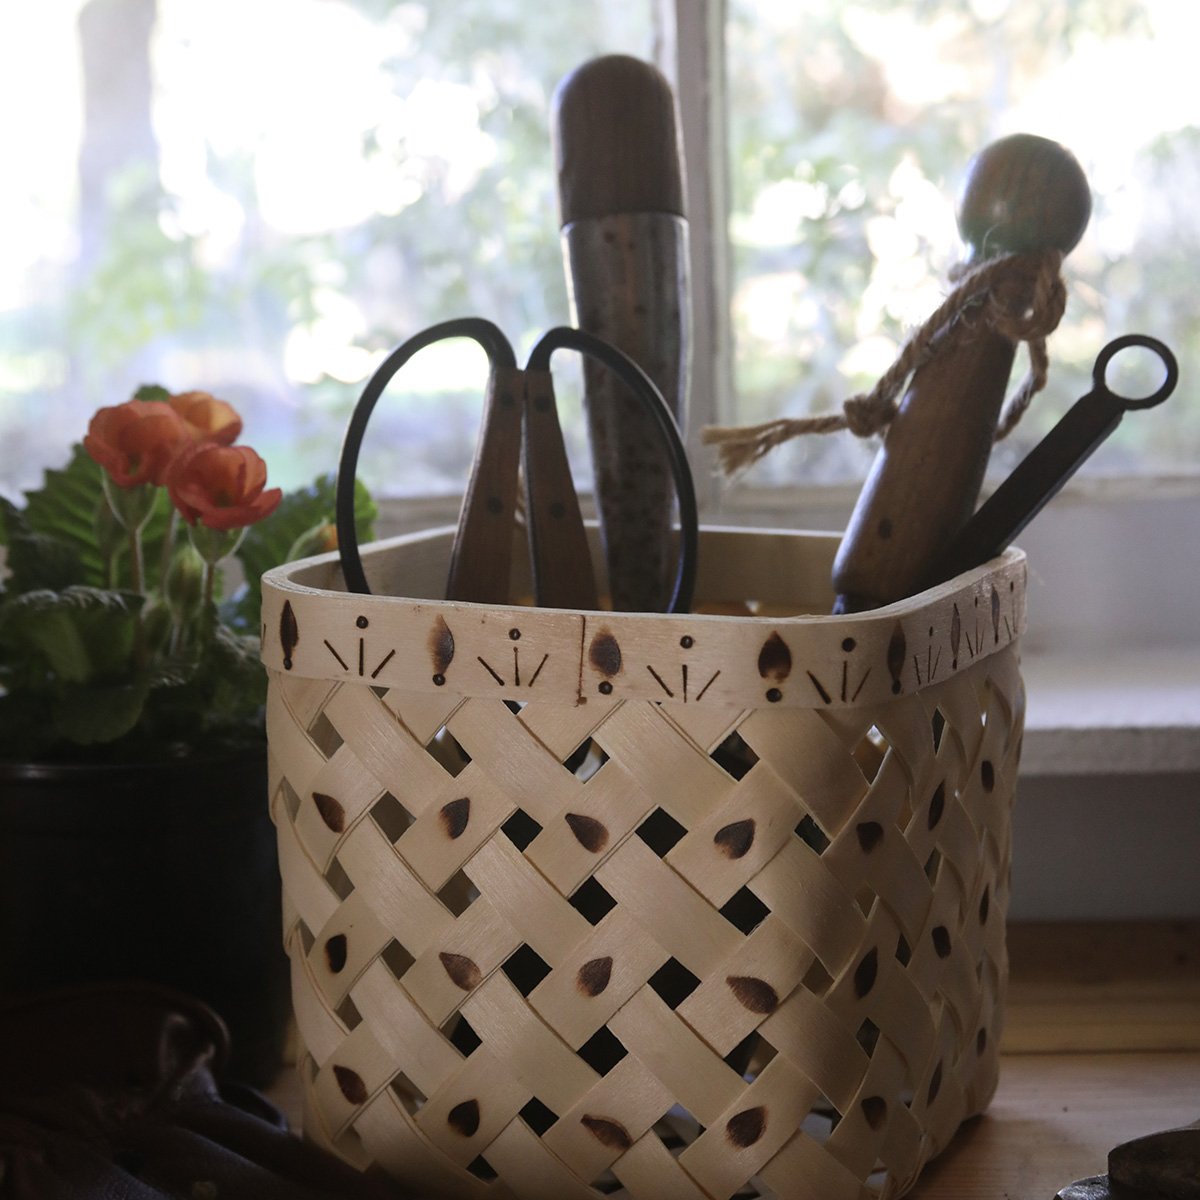
Embellish a basket with simple designs. You could personalize each one for Easter gifts!

I hope you are inspired to cultivate your creativity today!
Let me know in the comments below if you would like to try pyrography and what you will make.


Linen Storage Bin - Stripe
from $26.00