How to Make a Quilters Design Wall when you don't have a Wall
Inspiration
I recently heard a talk at an art gallery given by several local fiber artists. I was so inspired by their enthusiasm and creations that I joined their guild.
This led me back to my roots of improv quilting and the need for a design wall.
For those of you not familiar with a design wall, it is a vertical space, usually made of flannel, felt, or quilt batting. It is used to arrange and rearrange fabric pieces when designing a quilt. It is helpful for planning layouts, visualizing the quilt, and keeping fabric pieces organized.
In most cases, quilters pin a piece of flannel to a wall in their creative space. But…since I do not have a wall space available in my studio…I had to get creative!
Criteria
A large hanging surface area that is removable and easily rolled to preserve work in progress. I also wanted it to feel “substantial” so it would hold its shape while in use.
“A problem well stated is a problem half solved. ”
I chose to attach the wall to the framework of a large storage unit. The shelves at the bottom of the unit are wider than the top shelves so it would have to extend 12” from the top of the storage unit frame.
Here’s how it came together.
Supplies
White Felt: 72” w x 74”
White Quilting Bating: 72” w x 74”
Heat erasable pen
Ruler
Pins and Pinch Clips
Sewing Machine
Wood Dowels or Wood Sticks: two 72” w x 1” x 1/4”
Hardware
Curtain Rod Brackets: Black 12”
Curtain Rod: Black 76”
Black Pinch Clips with rings: 36
Originally I planned to use a single piece of felt for the design wall but when I tested it with a couple of quilt blocks, they did not stick as well as I wanted. Knowing it would be frustrating if the blocks frequently fell off the wall, I implemented plan B.
The quilt blocks stuck very well to a piece of quilt batting. However a single piece of batting was not thick enough for my free-hanging wall so I layered a piece of felt and a piece of batting together. Felt for stability, batting for its stick-able function.
Instructions
On a large work surface, place felt (this will be the back) on top of quilt batting (this will be the front). Aline the edges and smooth out any wrinkles.
Make Rod Pockets
Draw a line on the felt 4” in from the top and bottom edges. Use a heat erasable pen to make these lines.
Fold the top and bottom edges (felt and batting) over so they line up with the marks. Pin in place. I found that pinning at the stitch line and clipping on the fold line was helpful as the layers of fabric are quite thick.
Stitch the top and bottom pockets close to the pinned edges.
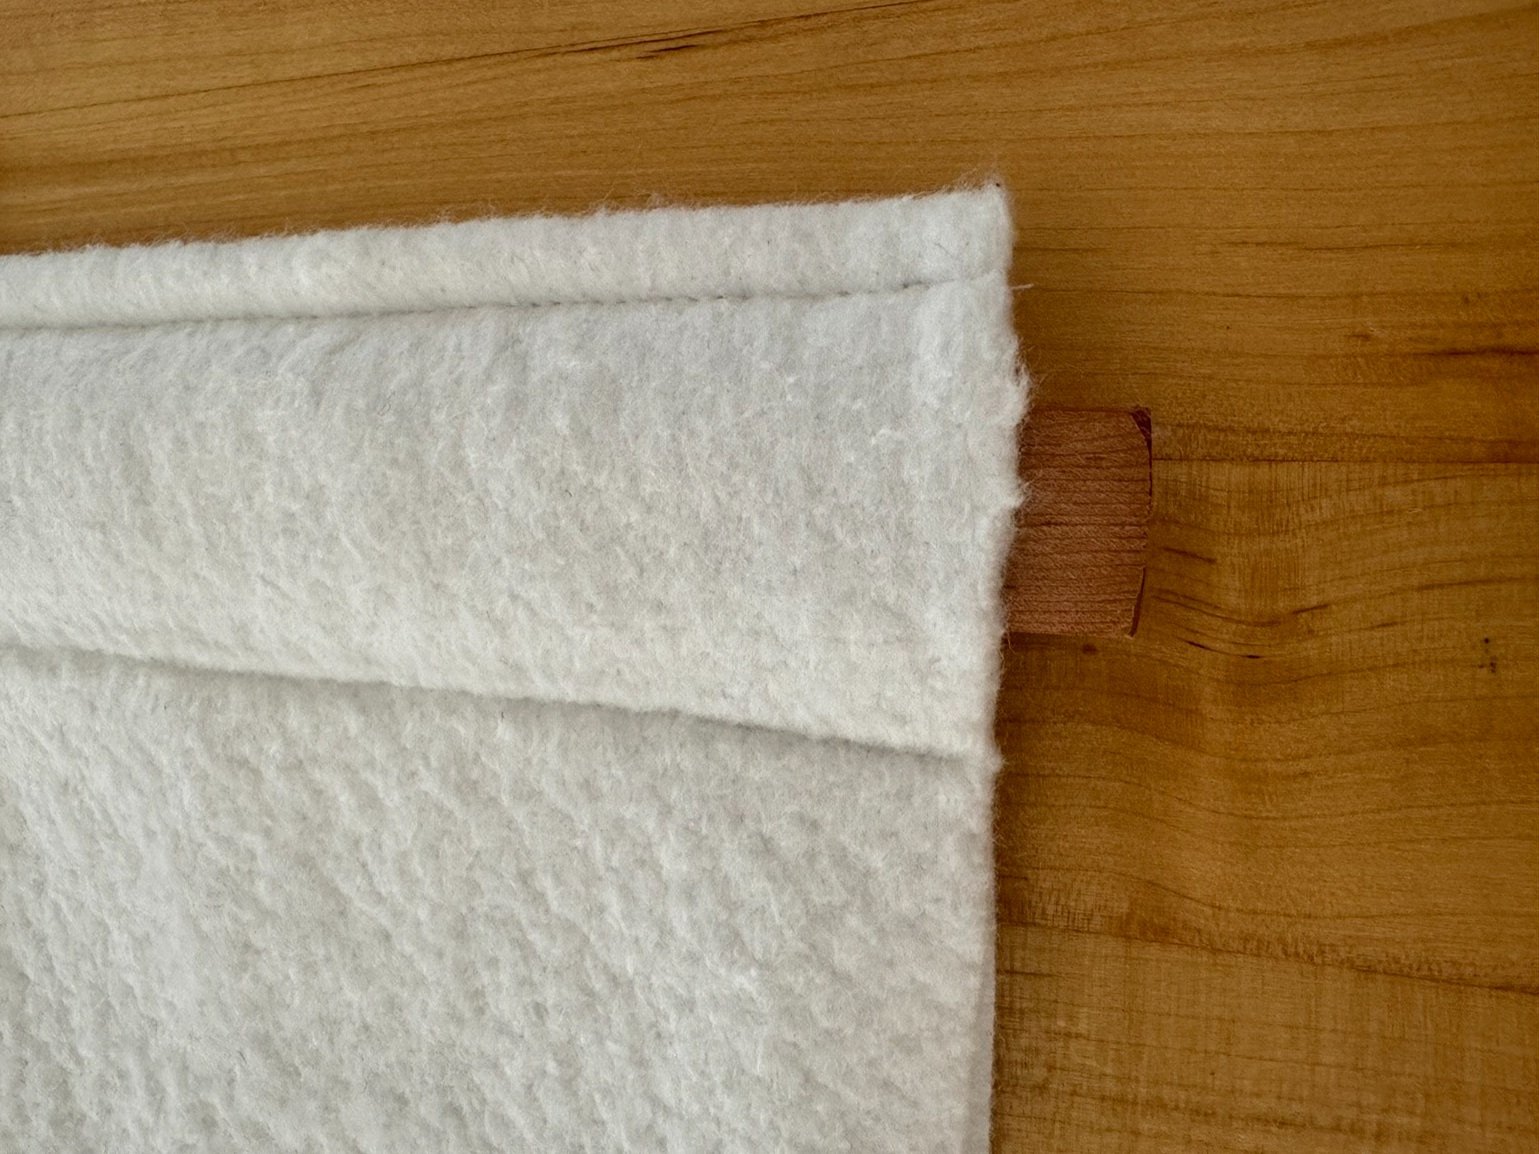
Make another stitch line on the top pocket slightly wider than 1/4 inch from the top. This will reinforce the space where the hanging clips will be attached.
This is what the top will look like when you are finished.
Attach Brackets to Frame
I used three brackets for stability but you may only need two.
Insert Wood Dowels
Note: If your curtain rod is longer than your fabric wall, and you only need /use two hanging brackets, you can simply put the curtain rod into the top pocket and hang the rod in the brackets. This will also eliminate the need for clip hooks. I could not do this because I needed three brackets.
Slide the wood sticks/dowels into the top and bottom pockets.
Top Pocket
Bottom Pocket


