Patio Kitchen Garden
We have been updating our patio flower containers this year and that update extended to our small kitchen garden.
This was the BEFORE kitchen herb garden.
It was small and worked well for many years but it was time to update the container and expand its size.
A patio garden works best for us because there is a very large family of rabbits living under our shed so a vegetable garden in our yard is a futile endeavor.
Here is how update project went.
We started by removing the old container and cleaning the surrounding area. Several unwelcome plants have been growing behind the container and it was time to clear them out.
I found new containers on sale at our local grocery/garden store. We had to be creative with the arrangement in order to maximize the space. I wanted to create different heights to make corner visually interesting. We used one of our old flower pots as a pedestal for the corner pot.
The side containers were the perfect shape and size but the wrong color. I employed one of my favorite decorating tools, black spray paint, and changed the color to match the other containers on our patio.
I found indoor/outdoor flat black paint….and it was on sale! I purchased 4 cans so that each container could get two coats of paint.
Two light coats of paint are better than one heavy coat. If you go light, there is less chance for runs. Always let the paint dry completely between coats.
Two coats finished! We were lucky to have a nice sunny day!
While the side containers were drying, I filled the corner container with a mix of dirt and potting soil. Dirt in the bottom and potting soil on the top. Note to self: Level the container before filling it with soil!
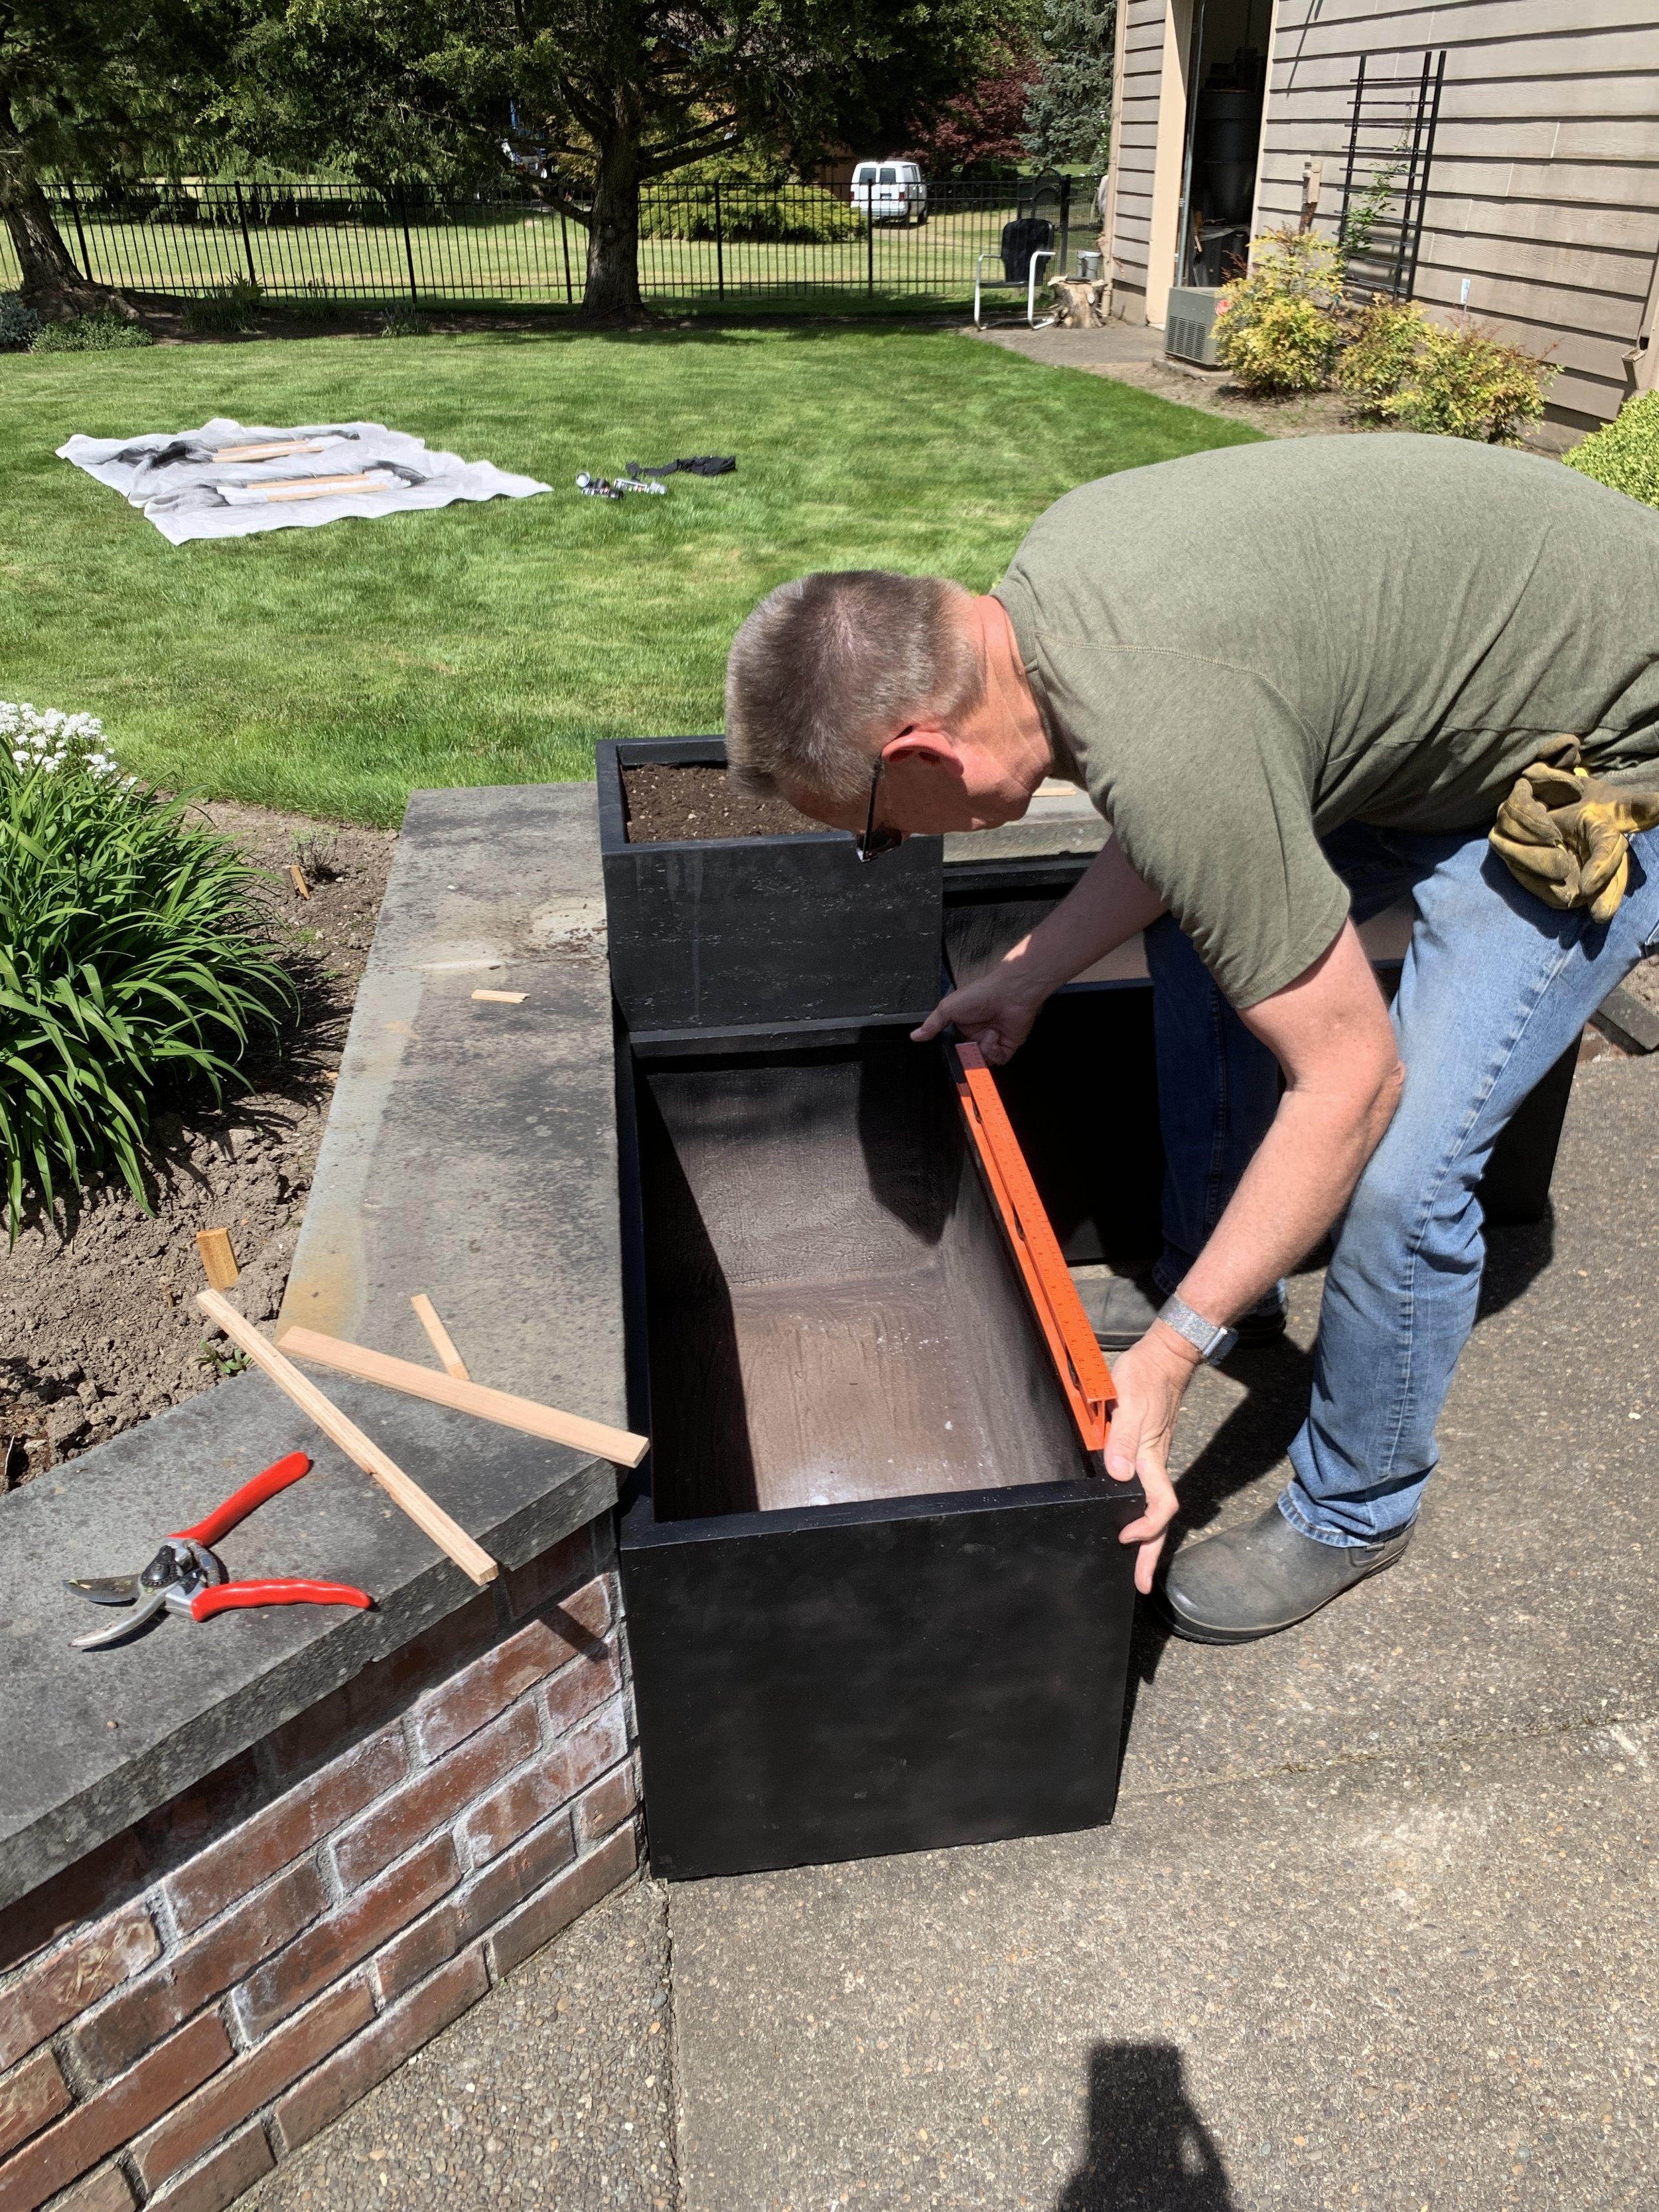
When the side containers were dry we moved them into place and leveled them with cedar shims. Our patio has a slight slope for drainage so it was necessary to adjust the containers to level.
Shims in place….time to fill the containers with dirt.
These large pots require a lot of dirt! We had extra dirt from another project so we used that in the bottom of the containers and then added potting soil to the top. All of the containers had a drain hole in the bottom of them so they did not need a gravel layer for drainage.
When the containers were full of dirt, I sprayed the dirt with water so the soil would settle. Then I added more potting soil to fill the containers.
Time for planting! I removed the plants from our old container and planted them first.
We had rosemary, lemon thyme, sage, a cabbage, and cilantro. Look at all that extra space!
It was time to go shopping for more plants.
I filled the containers with more herbs and vegetables.
Here is a diagram of the plants. I also planted a few beet seeds that will sprout and grow after the onions are harvested.
Here is a top down view….
The finished garden! We are ready for summer!


